 Offline guide
 Checked for Patch 1.0.11
Rocks: Tuna to Albatross
A checkpoint-first route for Rocks: Tuna to Albatross, with required hand-ins and recovery checks.
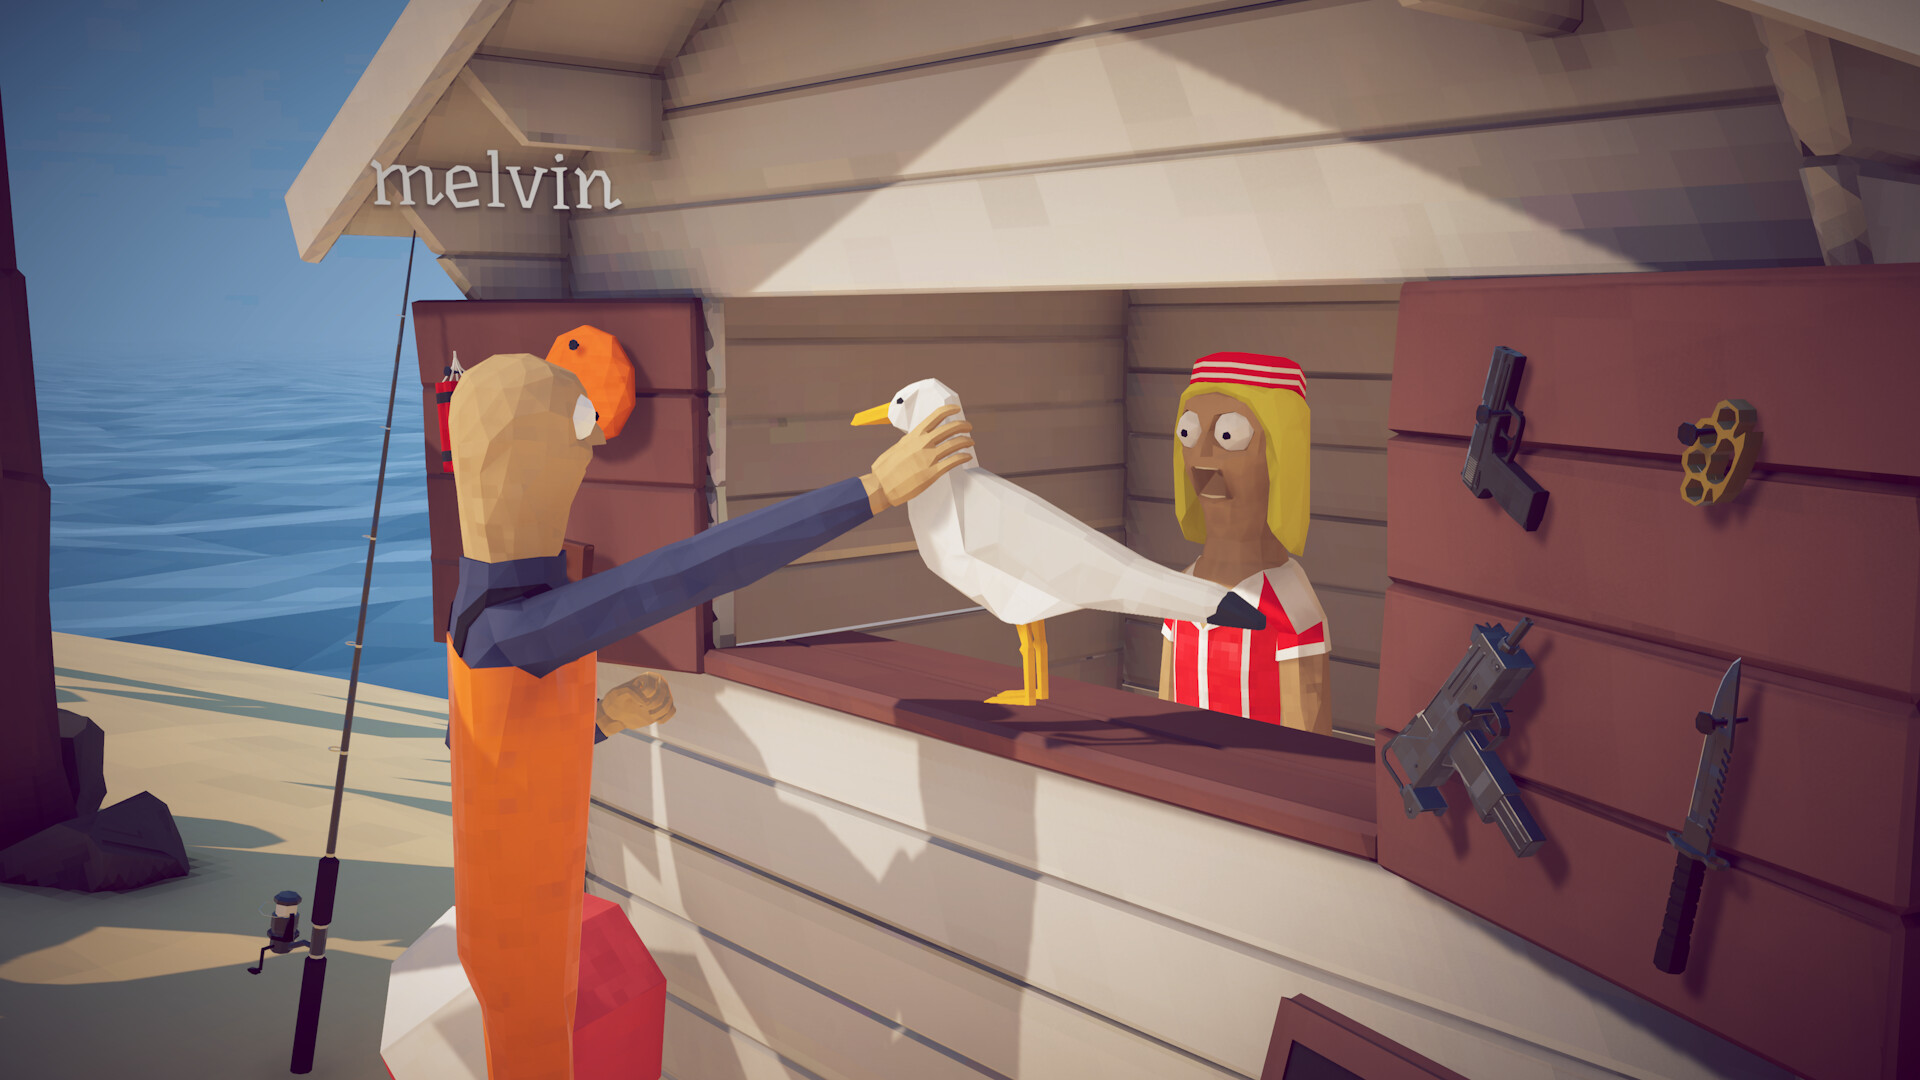
Tuna is the setup encounter. Its intact body—not a shop purchase—is the actual Albatross trigger, so it must not be sold or cooked.
Patch-sensitiveCurrent guides disagree on exact prices, spawn odds, health and hidden formulas. This page uses verified route conditions and labels strategy as strategy.
02Before you start
Progress is written by completed NPC exchanges, not by reaching a place or reducing a boss to zero health. Each hand-in should create a visible state change before you sail away. Rocks: Tuna to Albatross.
- Confirm the game reports Patch 1.0.11 or newer. Restart Steam after an update so multiplayer, save validation and the current interaction rules are actually active.
- Write down the last NPC hand-in, current Radar marker and any key already owned. This gives you a recovery point if the next action fails to advance the route.
- Move unique bait, boss remains, rare variants and active quest catches away from the ordinary sell, cook and roulette pile. Most irreversible mistakes begin with mixed storage.
- Inspect health, hunger, loaded ammunition and inventory space. Keep at least one free slot for a distinctive body or trophy and another when the step awards a key or tool.
- Decide the success signal before starting. A new marker, removed quest object, achievement notification or accepted hand-in is stronger proof than assuming the action counted.
03Action plan
- 01
Activate the large-bird request with the Rocks NPC before spending the lure.
Why this matters. This is the dependency check for the whole route. Performing it first prevents later symptoms from being mistaken for a broken spawn or a damaged save. Activate the large-bird request with the Rocks NPC before spending the lure.
How to verify it. Compare the inventory, Radar and active dialogue before and after the action. At least one of them should change in a way that matches the guide's stated success signal. Intact Tuna placed · Albatross Head accepted · Volcano marker appears
Common mistake to avoid. Do not jump ahead because a video shows coordinates. Patch 1.0.5 closed old locked-island travel routes, and missing prerequisites still block current progression.
- 02
Use Professional Boss Lure, defeat Tuna and watch the escape bar during damage downtime.
Why this matters. This step activates or preserves the state the game expects. Doing the visible action without the required state can look correct while producing no progression flag. Use Professional Boss Lure, defeat Tuna and watch the escape bar during damage downtime.
How to verify it. Wait for the interaction to finish and inspect the requested object. If it is still present with no reward or marker change, the task probably did not register. Intact Tuna placed · Albatross Head accepted · Volcano marker appears
Common mistake to avoid. Do not sell, cook, cut, gamble or abandon an item mentioned by the active objective. Keep it intact until a recipient has accepted it.
- 03
Pick up the intact Tuna body; do not convert, cook, sell or abandon it.
Why this matters. This is the resource gate. Preparing it before the attempt prevents a single-use trigger from being consumed while health, ammunition or inventory is still unsuitable. Pick up the intact Tuna body; do not convert, cook, sell or abandon it.
How to verify it. Check that the exact rod, lure, body or weapon is equipped—not merely owned—and confirm there is room to receive the result before committing. Intact Tuna placed · Albatross Head accepted · Volcano marker appears
Common mistake to avoid. Do not spend a single-purpose bait while still shopping or reorganizing. Finish preparation first and cast only when the arena is ready.
- 04
Move near solid or overhead cover and place the body on dry island ground.
Why this matters. This is the execution window. Treat positioning and reliable uptime as the objective instead of chasing maximum damage or copying an exact stat from an older build. Move near solid or overhead cover and place the body on dry island ground.
How to verify it. Watch the boss escape bar, attack telegraph and safe lane. A clean repeatable window is better confirmation than surviving one chaotic exchange. Intact Tuna placed · Albatross Head accepted · Volcano marker appears
Common mistake to avoid. Do not reload into a charge, stand in a poison or landing lane, or chase minor enemies until the escape timer wins. Reset position and resume reliable damage.
- 05
Use cover during Albatross projectile rain, then return fire during the recovery interval with a steady or long-range weapon.
Why this matters. This step converts a successful encounter into recorded progression. The physical item, its condition and the receiving NPC matter more than the fact that the enemy disappeared. Use cover during Albatross projectile rain, then return fire during the recovery interval with a steady or long-range weapon.
How to verify it. Pick up the distinctive remains, hold them once and revisit the issuer. Confirm the item leaves your possession or the reward state appears. Intact Tuna placed · Albatross Head accepted · Volcano marker appears
Common mistake to avoid. Do not assume a kill automatically updates Radar. Search for the shell, Skeleton, Fin, Head or intact body and complete the hand-in.
- 06
Preserve Albatross Head, hand it to the requesting NPC and confirm the Volcano marker.
Why this matters. This is the exit check. It closes the loop and gives a safe point for selling, cooking, changing lobbies or moving to the next island. Preserve Albatross Head, hand it to the requesting NPC and confirm the Volcano marker.
How to verify it. Open Radar, the collection page or Steam achievements immediately. Recording the result now prevents uncertainty after more items and objectives accumulate. Intact Tuna placed · Albatross Head accepted · Volcano marker appears
Common mistake to avoid. Do not delete a save because one marker is missing. Revisit the last NPC, inspect the ground and use Patch 1.0.11 backup recovery first.
04Field notes and decision rules
Prefer visible game state over exact community numbers. Prices, hidden multipliers, health and spawn odds may change without altering the route logic.
When two current guides disagree, use the action both sources share and label the disputed detail. This is why the site avoids guaranteed coordinates and rigid ordinary-fish habitats.
In co-op, assign one player to carry unique progression objects. Duplicate movement, disconnects and simultaneous pickups make it harder to know which state the host recorded.
After a successful hand-in, use the game's normal save or menu flow. Then update the local checklist so the browser record and the game state continue to agree.
05If it does not work
- No Albatross usually means the request is inactive or the Tuna was not placed intact on land.
- Patch 1.0.10 fixed a Tuna/Albatross respawn lock; update before diagnosing the save.
06Questions players ask
Can I skip this and sail directly to the next location?
Usually no. The current route depends on the preceding NPC request and hand-in; Patch 1.0.5 also removed old travel shortcuts to locked islands.
What should I do if the item or marker does not appear?
Check the exact equipped trigger, free inventory space, ground drops and the last quest NPC. Then reload the newest validated backup before considering any destructive action.
Are the exact prices, damage values and spawn rates guaranteed?
No. The guide keeps route conditions and officially documented patch behavior, but omits disputed hidden formulas and treats current community measurements as observations.
Does the checklist change my game or Steam save?
No. Checklist state is stored only in this browser. It never reads Steam, edits a save or sends game data to the site.
07Evidence and patch scope
Links are provided for verification. Strategy is summarized in our own words; exact hidden values are omitted when reports conflict.